Normal "Ambient" Light

Local Light

Local Light in Action

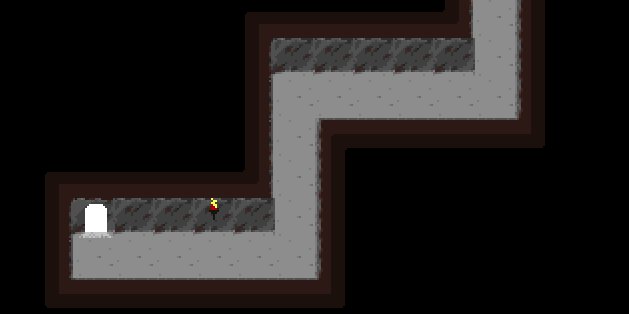
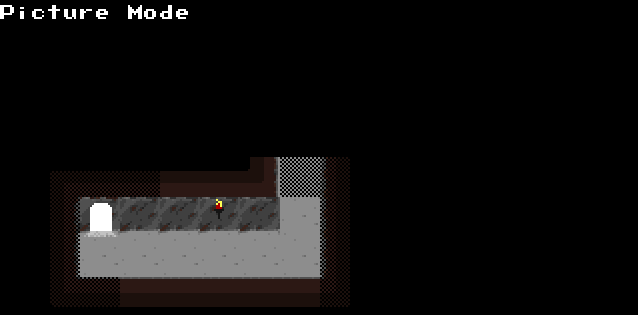
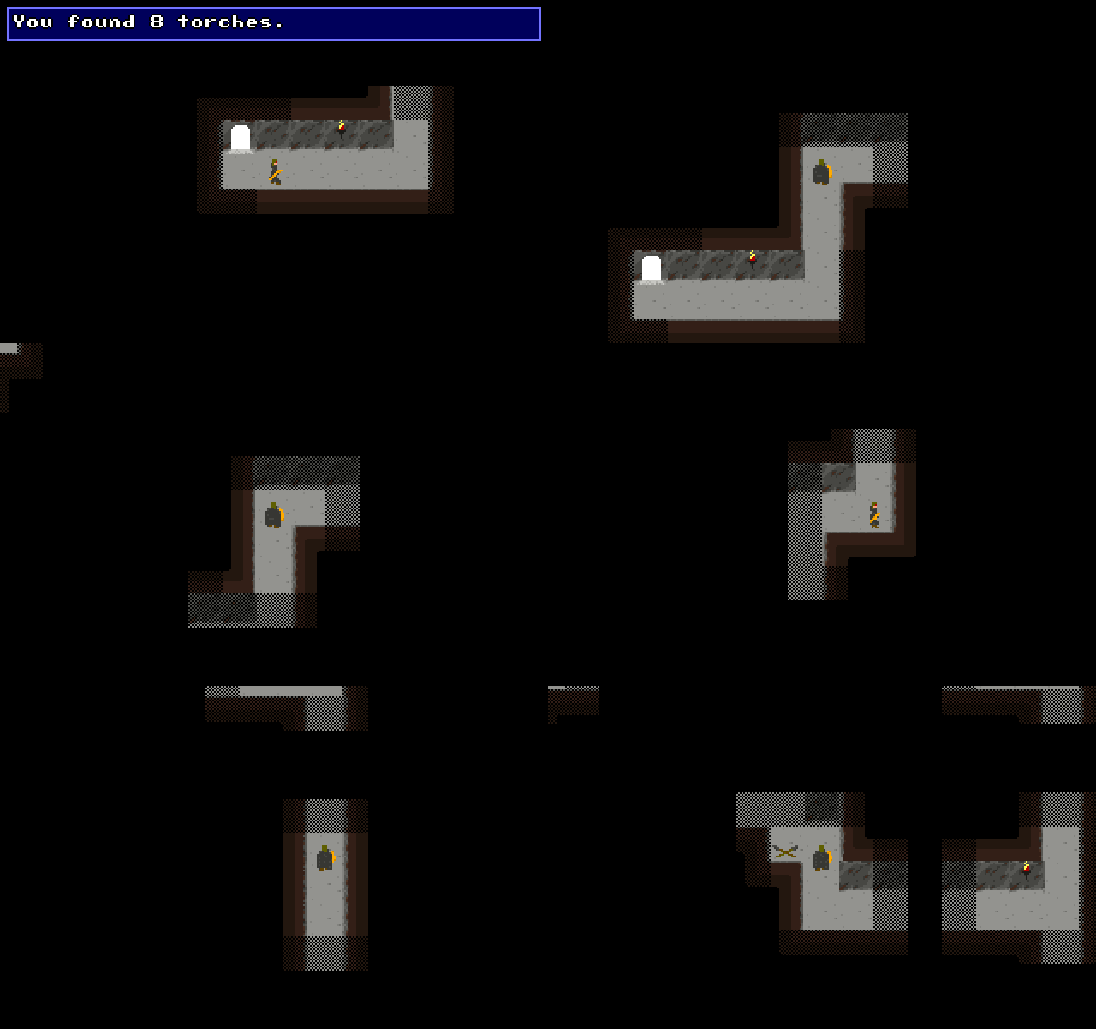
Interesting effects can be achieved with use of plotscripting and layers. One such effect is local lighting, which limits the amount of a map the player can see. Typically, the entire 10x16 area surrounding the immediate hero position during the game is always visible. Hiding some details that would normally be visible can add atmosphere as well as surprises to a dungeon or cave map. Local light contains two different light sources. The first light source is the ambient light that exists from sources such as fixed torches, fires, scones, etc, that will always be 'illuminating' their immediate vicinity. The second light source follows the player around and lets the player see what is nearby (i.e., within 2-3 maptiles). This simulates a torch or lantern being carried by our hero. And as a torch or lantern, this light source can dim or go out completely, as a torch that burns out or a lantern which runs out of oil would. Maptiles and plotscripts are the two main parts needed to implement local lighting as described in this article.
You will need a tileset to use for layer 2 of the map that will have local lighting. For purposes of simplicity, the code uses the first six tiles of the maptile set for layer 2. Of the six, three "clear" tiles are needed for the different "fully lit" regions; the light that follows the hero around, the light that is always present, and the temporary light that replaces the permanent light source's attenuated light tile when the hero's light source 'brightens' that area. Two "shaded" tiles are needed for the light attenuation. One attenuation tile is the attenuation from the moving light source, and the second attenuation tile is for the stationary permanent light sources. Lastly, one tile is needed for the shadow that hides the areas of the map not illuminated.
The multiple "clear" and "shaded" tiles allow the plotscripting to track what should return to darkness, return to permanent light attenuation, or remain unchanged when the tile is no longer affected by the player light.
Numbered from 0 to 5, corresponding to the top left most tile and moving to the right of the top row, the tiles are as follows (the background or clear color will be violent purple for purposes of highlighting what is black and what looks like black on the palette but is actually see through):
 0:
Background, this represents the player's light
 1:
shade (dithered background color and black), this represents the
attenuation of the player's light
 2:
Black, this represents the shadow of where no light penetrates
 3:
Background color, this represents light that is always there
 4:
Background color, this represents light from the player that is
illuminating attenuated permanent light from fixtures such as wall
torches, scones, fireplaces, etc
 5:
Shade, this represents the attenuation of the permanent light
Four global variables and two constants will first be defined. The globals will keep track of the hero's previous position, remaining torch life, and whether or not the torch is lit. The previous hero position (l cave x, l cave y) is used to remove the light at the previous location when the light from the torch decreases. The constants are there to have one location where the full torch life level and the low torch level (both in number of steps) are defined. With some minor tweaking, you can do away with having a limited number of steps before a torch goes dim then out. However, this article will assume that is not the route that will be taken.
global variable (1, l cave x) |
The "each-step" script is needed to update the light that follows the player. This script is responsible for decreasing the remaining torch life, handling the hero light when the torch burns low or goes out, and maintaining the illumination from the hero as it walks around the map. The plotscript below is an example of what is needed.
It has two helper scripts. "Light ring" attempts to illuminate the tiles in a rectangle outline about a center point using a given tile number. The parameters are as follows:
For example, if the parameter list is (3,3,2,2,1) then the script would try to write tile #1 in all the map squares two squares above, below, right, or left of tile (3,3). Suppose the X represents the center point, the hash marks # represent the written tiles, and the dots represent unaffected tiles, the output would be this:
#####
#...#
#.X.#
#...#
#####
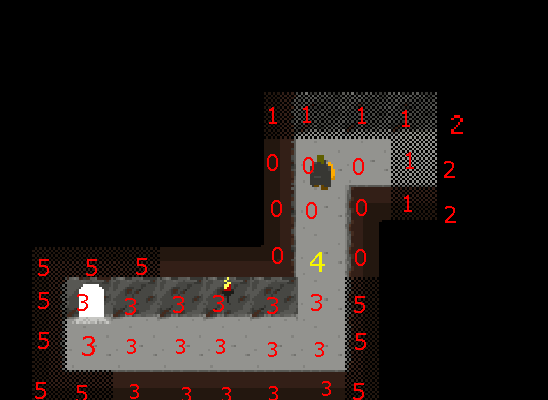
The second helper script, "local light helper," handles the actual writing for the maptile. It takes the given player lighting tile number and determines what actually is written to a particular map square. This allows the attenuated light from a fixed light source to be illuminated by the player's light, and then return to being fixed light attenuation. This is possible because the illumination square written is not the player illumination, nor the permanent illumination tile, but a temporary illumination tile. The below image illustrates this map tile trick. Note that the tile numbers are representative of the corresponding tile from layer 2 of the map. The 4 is the temporary light tile.

#------------------------------------------------------------ |
Additionally, another plotscript may be needed after a battle occurs. This script will reestablish the light that follows the character around after a battle is fought. Alternatively, you can also set "Tile Data" to "Remember state when leaving" to remember the currently illuminated area.
#used after a battle was fought to ensure the torchlight is correct |
In addition to the each step plotscripting, you may want objects that
can be used as torches or light sources that follow the player. Torches
can require a torch be lit from a fixed light source (i.e., a torch on
the cave wall) or from a torch already lit and carried by the player in
order to be lit. This will need a few simple plotscripts given below.
"light torch from torch" expects the player already has a lit torch,
and carries at least one torch in their inventory. This script is
called from a text box linked to the item "when used outside of
battle." "light torch" is placed as an NPCs "run script" when it is
activated by the hero. This script causes a torch to be lit (provided
there is a torch in the inventory).
#-------------------------------------------- |
Some drawbacks of this technique include complications when tiles other than lighting (such as a maptile of a desk) are placed in layer 2 and desired to be in shadow or attenuated light. To get around this, more logic is needed to handle what to do with certain maptiles. This is left up as an exercise to the reader. Also, this technique does not allow for walls or other objects to prevent maptiles from being illuminated. If there are two narrow corridors running parallel and closely, then the second one may also be able to be seen by the player.
In closing, local lighting can allow tiles normally seen to be occluded by shadow. This can add extra elements of surprise as well as atmosphere to your game. To see this technique used in a game take a look at the caves appearing in The Quest for the Bone.